
(Sometimes as a developer you get to be a super hero and overcome incredible odds. Of course, it helps if you have the skills to pull off magic – in this week-long story we paint a tongue-in-cheek picture of one of those situations. Check out the beginning of the week posts first: Monday, Tuesday, Wednesday, and continue below)
Sitting in morning rush hour traffic, you start contemplating what you will have to do today to keep on schedule. You are interrupted by the melody of your phone and glance down at who is calling and you realize it is your boss, Sam. You are not sure whether you should answer it, but you do with an upbeat “Hello!” Sam wants to let you know he would like to talk to you and see how it’s going as he has gotten a little worried that you haven’t been burning the midnight oil. You instantly turn on the charm and re-assure him that you have it under control and would be glad to show him by the end of day Friday. Sam doesn’t sound too convinced but decides to accept your answer. Before he hangs up, he says that they have a surprise for you today for when you get in. You hear him chuckling as he hangs up the phone. You are somewhat surprised and not sure what could top a new computer and chair. However, you pull into the parking garage and see your name next to the building entrance on the curb. As you slowly pull into the spot and get out, your co-workers stare at you in disbelief. As you enter the building, you turn around and glance back just to make sure you are not dreaming.
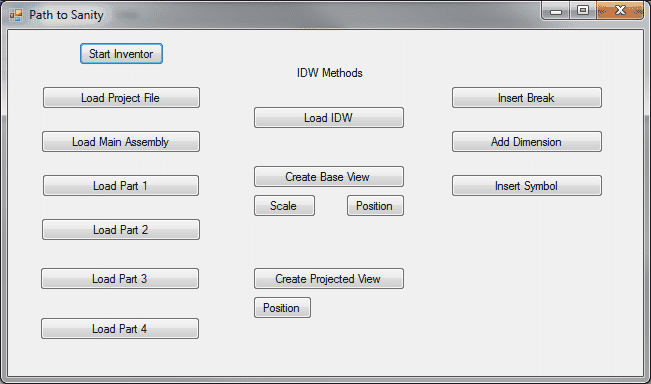
After fending off a few conversations while passing adjacent cubicles, you sit down and pickup up where you left off, which was with IDW view breaks, dimensioning, and symbol insertion. Oh, and that all important game of solitaire. Let’s modify that new dialog to support the three things we will be working on for today. Here is what I came up with.
You realize that your second view is a little too tall, so you decide to insert a break in the view so that you can get a symbol above it. Looking at the Inventor API, you say, wow, this looks like it might be cool and jump in with both feet. You decide that you will collapse the distance between the third worm gear and the second spur gear. This should create enough room for the symbols. Within a few clicks of the keyboard, here is what you came up with.
private void btnInsertBreak_Click(object sender, EventArgs e)
{
	ComponentOccurrence topGear = m_mainAssembly.ComponentDefinition.Occurrences.get_ItemByName("FD-WormGear2IN:3");
	ComponentOccurrence bottomGear = m_mainAssembly.ComponentDefinition.Occurrences.get_ItemByName("FD-SpurGearIn:2");

	Box topBox = topGear.RangeBox;
	Point pt1 = topBox.MaxPoint;

	Box bottomBox = bottomGear.RangeBox;
	Point pt2 = bottomBox.MinPoint;

	Point2d breakPoint1 = m_projectedView.ModelToSheetSpace(pt1);
	Point2d breakPoint2 = m_projectedView.ModelToSheetSpace(pt2);

	BreakOrientationEnum orientation = BreakOrientationEnum.kVerticalBreakOrientation;

	m_projectedView.BreakOperations.Add(orientation, breakPoint1, breakPoint2, BreakStyleEnum.kStructuralBreakStyle);
}
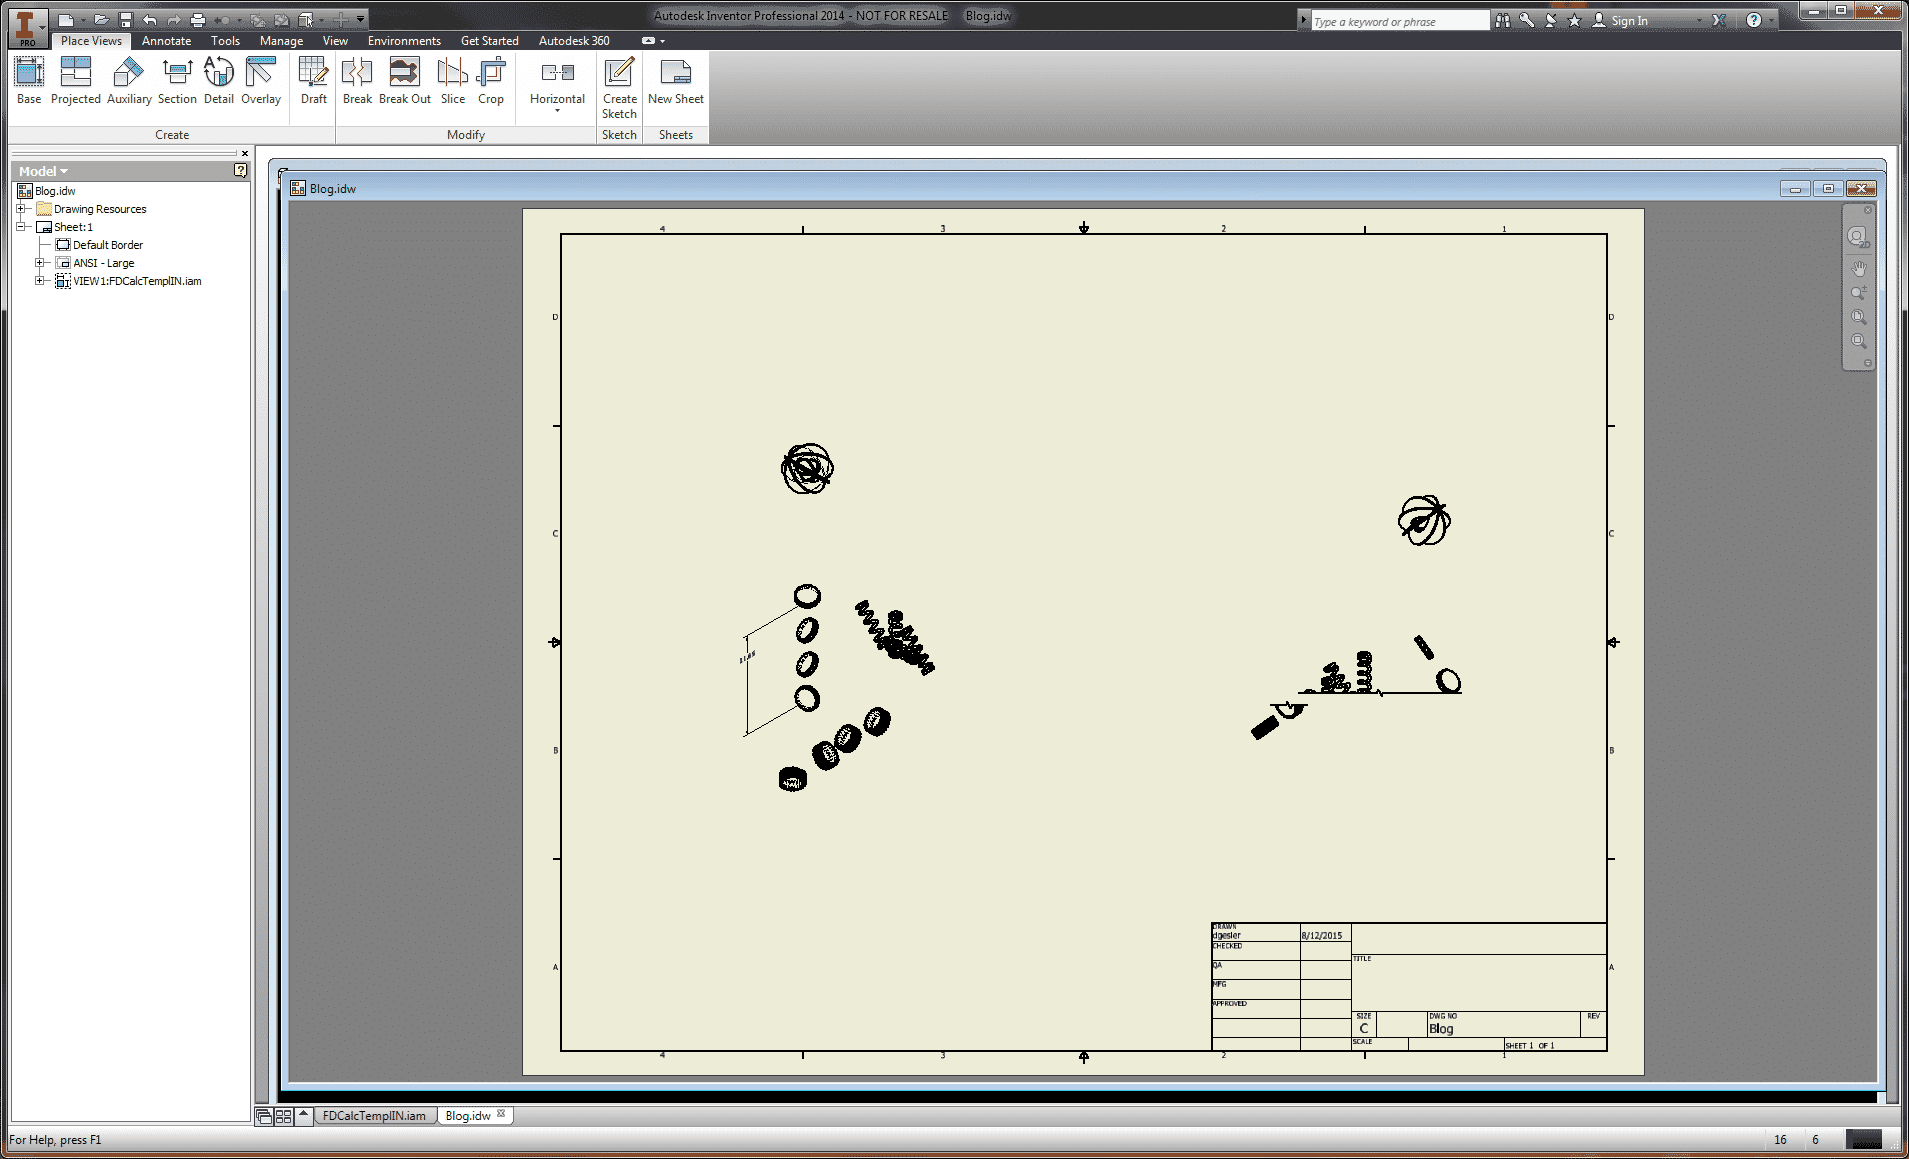
By getting a handle on each of the gear objects, you can then determine their size and position in order to project the proper break. Your results are exactly what you expected.

The break was applied between the 2nd and 3rd spur gear in the projected view.
As you click the [Insert Break] button with your mouse, you realize that your mouse pad’s top lining has once again peeled back. You flip it over and notice that you have already worn down this side and the entire mouse pad is quickly approaching its end of life. You contemplate calling IT, but instantly become aware that this method will only result in filling out a 30 page form in triplicate. So you begin your search for alternative solutions. You rummage thru the plastic tote under your desk for any possible resolution, but realize that scotch tape is your only answer. You pull out a few strips and proceed to perform skin graft surgery on the mouse pad by replacing some of the front with some of the back using the tape as the glue. Presto… well, almost. It doesn’t look pretty anymore, but it does function properly. You give a quick snarl at the pad and re-focus back on your screens. You decided that was enough of a distraction and decide to continue.
The next task is to generate a dimension between the first and last worm gear in the base view. You know dimensions need a little extra work, so you review the steps before you start the programming. First you need to locate the specific occurrence of each part, which in turn will give you the part definition. After you get that, you will need to grab the drawing curves of that object from the view you wish to place the dimension in. After those, you will have to create a Geometry Intent on the curve you wish to dimension from and to. Having the geometry intents, you can then determine the appropriate dimension text insertion point. Once you have all those values, you can create your dimension. Clearing all this up in your head, you begin typing the appropriate keys to bring this to life.
private void btnAddDimension_Click(object sender, EventArgs e)
{
	GeometryIntent gi1 = GetGeometryIntentOfPartByName("FD-WormGear2IN:1", PointIntentEnum.kStartPointIntent);
	GeometryIntent gi2 = GetGeometryIntentOfPartByName("FD-WormGear2IN:4", PointIntentEnum.kEndPointIntent);

	Point2d textPoint = m_application.TransientGeometry.CreatePoint2d(gi2.PointOnSheet.X - 3, (gi1.PointOnSheet.Y + gi2.PointOnSheet.Y) / 2);

	Sheet sheet = m_idw.ActiveSheet;
	LinearGeneralDimension dim = sheet.DrawingDimensions.GeneralDimensions.AddLinear(textPoint, gi1, gi2, DimensionTypeEnum.kVerticalDimensionType);
}

private GeometryIntent GetGeometryIntentOfPartByName(string name, Inventor.PointIntentEnum intent)
{
	Sheet sheet = m_idw.ActiveSheet;
	ComponentOccurrence co = m_mainAssembly.ComponentDefinition.Occurrences.get_ItemByName(name);
	PartComponentDefinition springPartDef = co.Definition as PartComponentDefinition;

	DrawingCurvesEnumerator dce = m_baseView.DrawingCurves[co];
	DrawingCurve firstCurve = dce[1];

	return sheet.CreateGeometryIntent(firstCurve, intent);
}
Let’s see what we have now.
Insertion of the dimension in the base view
It’s breathtaking, isn’t it!
You lean back, placing your arms behind your head and look around. Nobody is aware of just how awe-inspiring this code is becoming. You get lost in your thoughts and start dreaming of that game of solitaire. Let’s make that happen!

As always, when you are messing around, the boss walks by. And to stay true to this, Sam is perched right over your shoulder and you can feel the anger as he stares at the screen, then at you. But, you know all is well and without thinking blurt “Would you like to try it?” You can see his head turn red as he turn and walks away. Heidi from marketing tries to get his attention, but notices the steam rolling off his belfry and decides to stay clear for the time being.
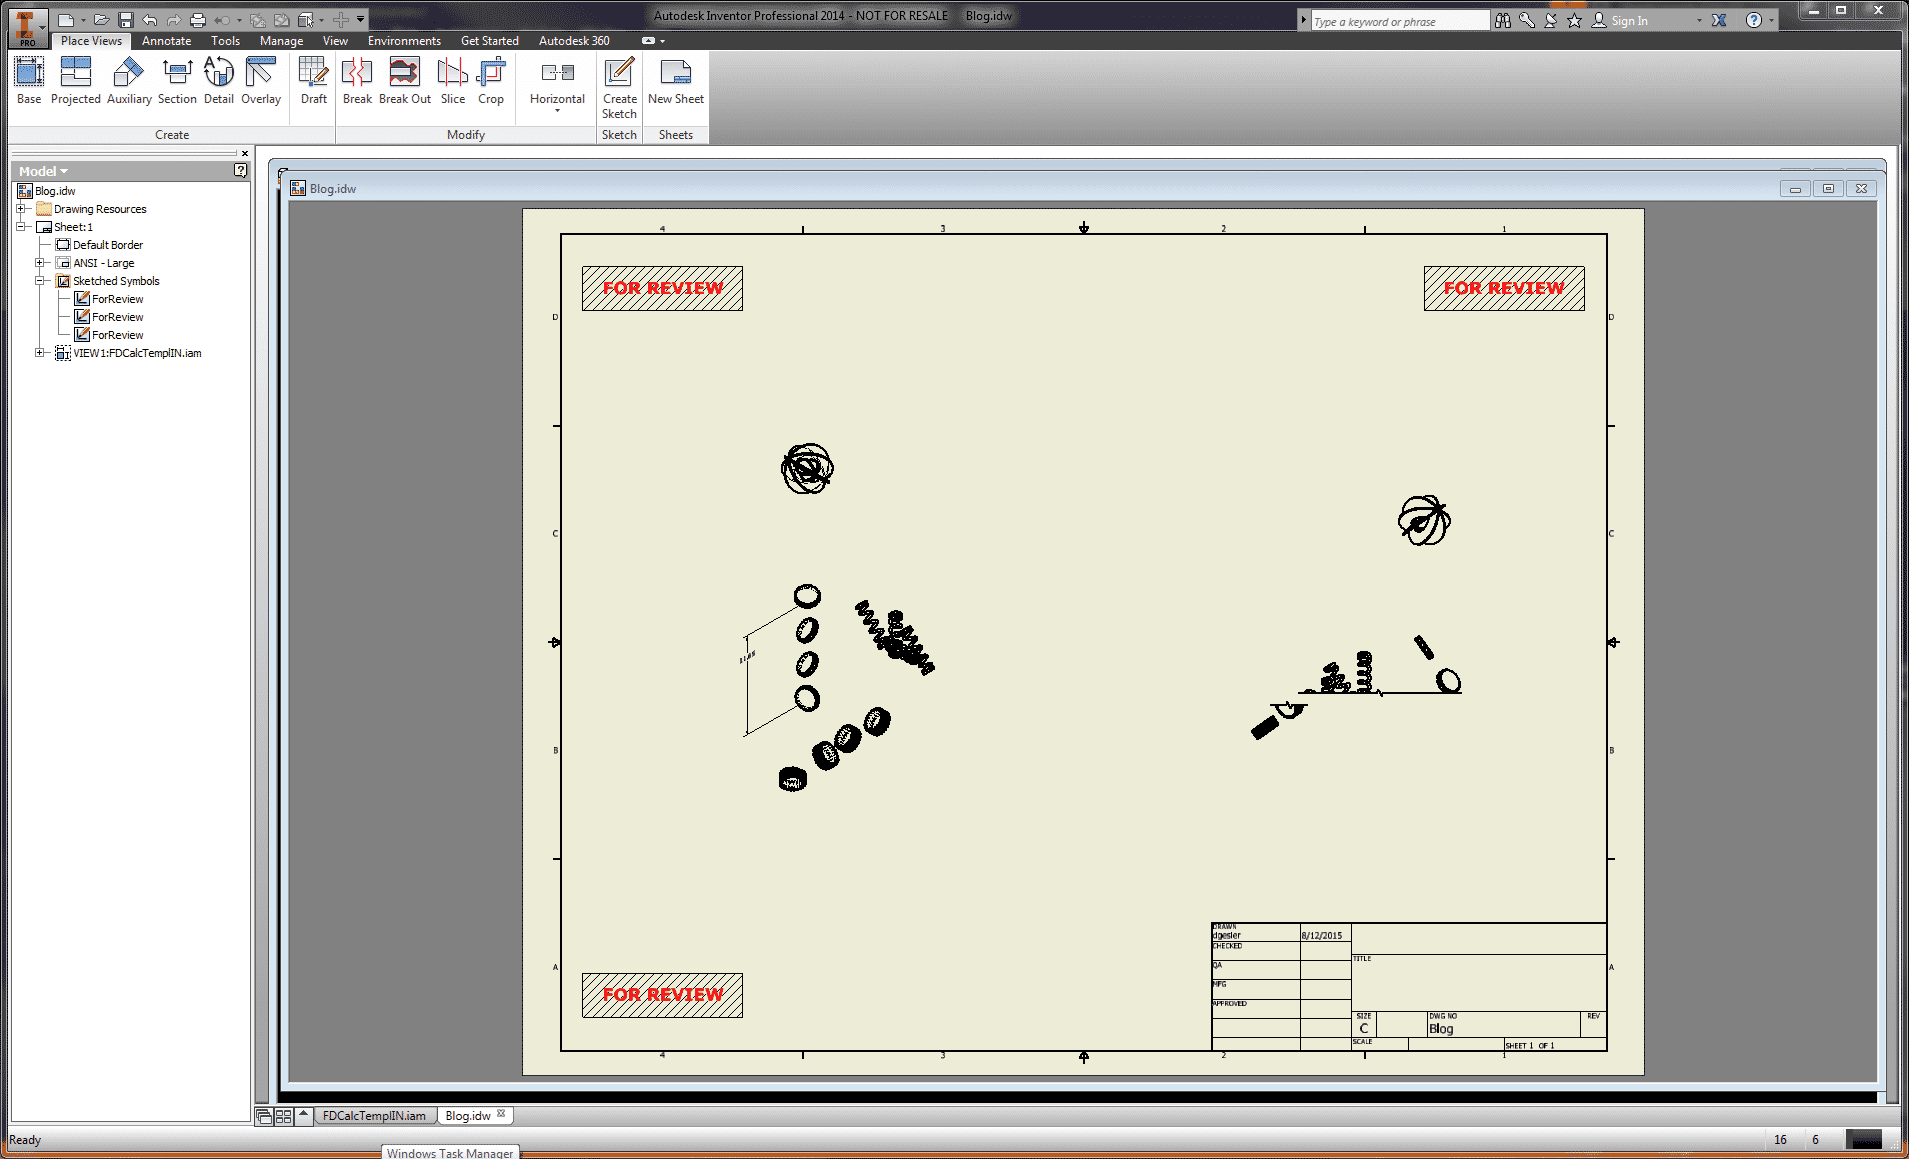
You smile and close solitaire, as it has caused enough damage for today, and begin the final undertaking for today’s tasks – inserting the “For Review” symbol in the 3 corners. Now, your standard IDW template already has it included in the Drawing Resources, under the Sketched Symbol section, so all you need to do is locate it and insert it into the sheet in the appropriate position. This is a very easy procedure and you rush to complete it, so you can get home to the all day marathon of NCIS.
private void btnInsertSymbol_Click(object sender, EventArgs e)
{
	Sheet sheet = m_idw.ActiveSheet;
	double x = 7;
	double y = 4;

	Point2d position = m_application.TransientGeometry.CreatePoint2d(x, y);
	sheet.SketchedSymbols.Add("ForReview", position);

	y = sheet.Height - 4;
	position = m_application.TransientGeometry.CreatePoint2d(x, y);
	sheet.SketchedSymbols.Add("ForReview", position);

	x = sheet.Width - 7;
	position = m_application.TransientGeometry.CreatePoint2d(x, y);
	sheet.SketchedSymbols.Add("ForReview", position);
}
With a click here and a click there, you type the last semicolon and hit the execute button. Your output confirms that you will be able to stop and pick up a sandwich before you relax in the comfort of your recliner at home.
You hit save and shut down. You haven’t had this much fun at work in a long time . Your boss probably doesn’t think so, but just wait till tomorrow, all the planets will align and your career will be solidified.


